-
 Thanh toán đa dạng, linh hoạtChuyển khoản ngân hàng, thanh toán tại nhà...
 -
 Miễn Phí vận chuyển 53 tỉnh thànhMiễn phí vận chuyển đối với đơn hàng trên 1 triệu
 -
 Yên Tâm mua sắmHoàn tiền trong vòng 7 ngày...
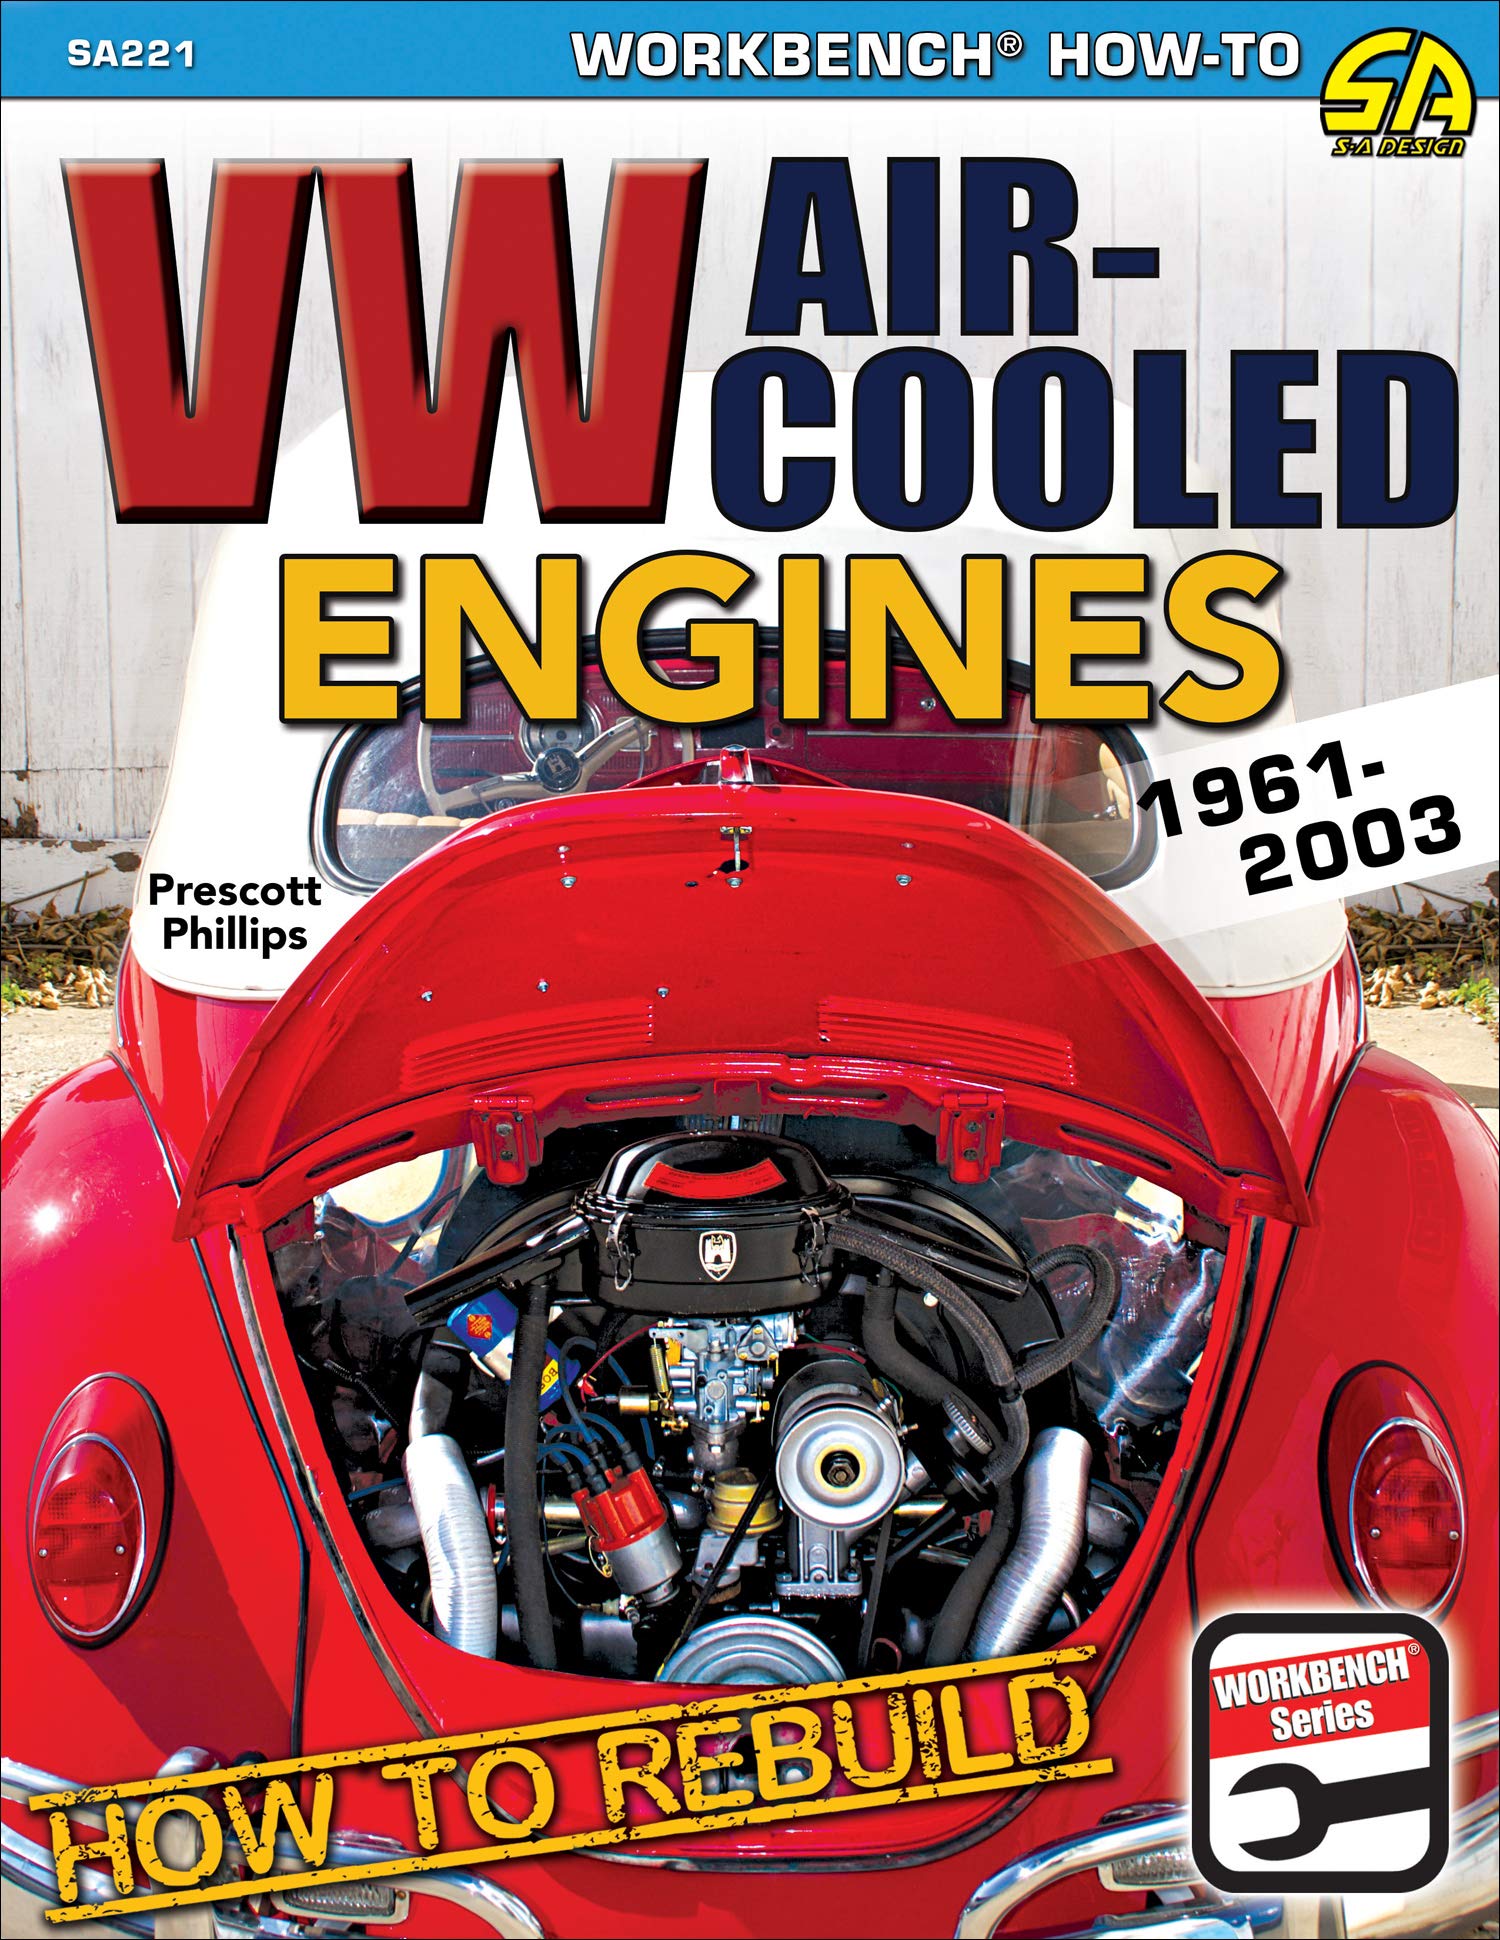
How to Rebuild VW Air-Cooled Engines: 1961-2003
-

- Mã sản phẩm: 1613254334
- (202 nhận xét)

- Publisher:CarTech (August 7, 2019)
- Language:English
- Paperback:144 pages
- ISBN-10:1613254334
- ISBN-13:978-1613254332
- Item Weight:1.1 pounds
- Dimensions:8.5 x 0.25 x 11 inches
- Best Sellers Rank:#231,956 in Books (See Top 100 in Books) #83 in Automotive Engine Mechanics #520 in Do-It-Yourself Home Improvement (Books)
- Customer Reviews:4.8 out of 5 stars 195Reviews
Mô tả sản phẩm
From the Publisher

VW Air-Cooled Engines: How to Rebuild will focus its coverage on the VW Type 1, 2 and 3 engines beginning in the year 1961, when a significant re-design improved the reliability, durability and horsepower of the basic initial design. This book will offer insightful step-by-step captions and color photos for expertly rebuilding an air-cooled engine and will provide in-depth hands-on information for disassembly, inspection, machining, parts selection, pre-assembly, final assembly, installation, and tuning.
Not only will all the procedures for rebuilding be covered in depth, but engine model types, Identification codes, specifications and details will be covered in a manner that will allow the user to source a good later model candidate for rebuilding and help retrofit the modern engine designs into earlier chassis.

Disassembly
This is what it should look like with all the cooling tin removed. All the sheet metal is attached with 6-mm flathead screws. Depending on how complete the engine you have is or what type of vehicle it was previously installed in will determine what sheet metal it has and what it will need when reassembling.

Cleaning & Inspection
To prep an engine case for initial inspection, remove all cam bearings, center main bearings, and six main stud seals. Next, scrape both halves with a razor blade to remove sealer that’s usually baked on.

Machining
Before clamping the head to the Bridgeport mill, it is always a good idea to make sure the valve cover surface is free of burrs and dents. People tend to get a little overzealous when removing the valve covers. The rocker studs should clear the bottom of the T-slot in the table, but double-check to be sure.


Preassembly
Apply a thin coat of silicone sealer to the pushrod tube seals. Note the dark line that runs the length of the tube. That is the seam that is welded together. Make sure that seam faces up when the engine is installed in the car. Periodically, that seam splits and if it faces down you will have a pesky oil leak.

Final Assembly
Here are the necessary components installed in the 1-2 case half: one bearing dowel pin under one center main bearing, three cam bearings, and four lifters with plenty of assembly lube.

Accessories
Install the fuel pump with a 13-mm wrench. Don’t forget the wave washers under the nuts. If the fuel pump seems too high off the base, don’t force it on with the nuts. This indicates that two things may be wrong: either the distributor drive isn’t seated all the way down in the bore or the fuel pump pushrod is the wrong length.


 KHUYẾN MÃI LỚN
 Đông Trùng Hạ Thảo
 Hỗ Trợ Xương Khớp
 Bổ Não & Tăng cường Trí Nhớ
 Bổ Sung Collagen & Làm Đẹp
 Bổ Thận, Mát Gan & Giải Độc
 Chăm Sóc Sức khỏe Nam Giới
 Chăm Sóc Sức khỏe Nữ Giới
 Chăm sóc Sức khỏe Trẻ Em
 Thực Phẩm Giảm Cân, Ăn Kiêng
 Bổ Sung Vitamin & Khoáng Chất
 Bổ Tim Mạch, Huyết Áp & Mỡ Máu
 Bổ Mắt & Tăng cường Thị lực
 Điều Trị Tai Mũi Họng
 Sức Khỏe Hệ Tiêu hóa
 Chăm Sóc Răng Miệng
 Chống Oxy Hóa & Tảo Biển.